
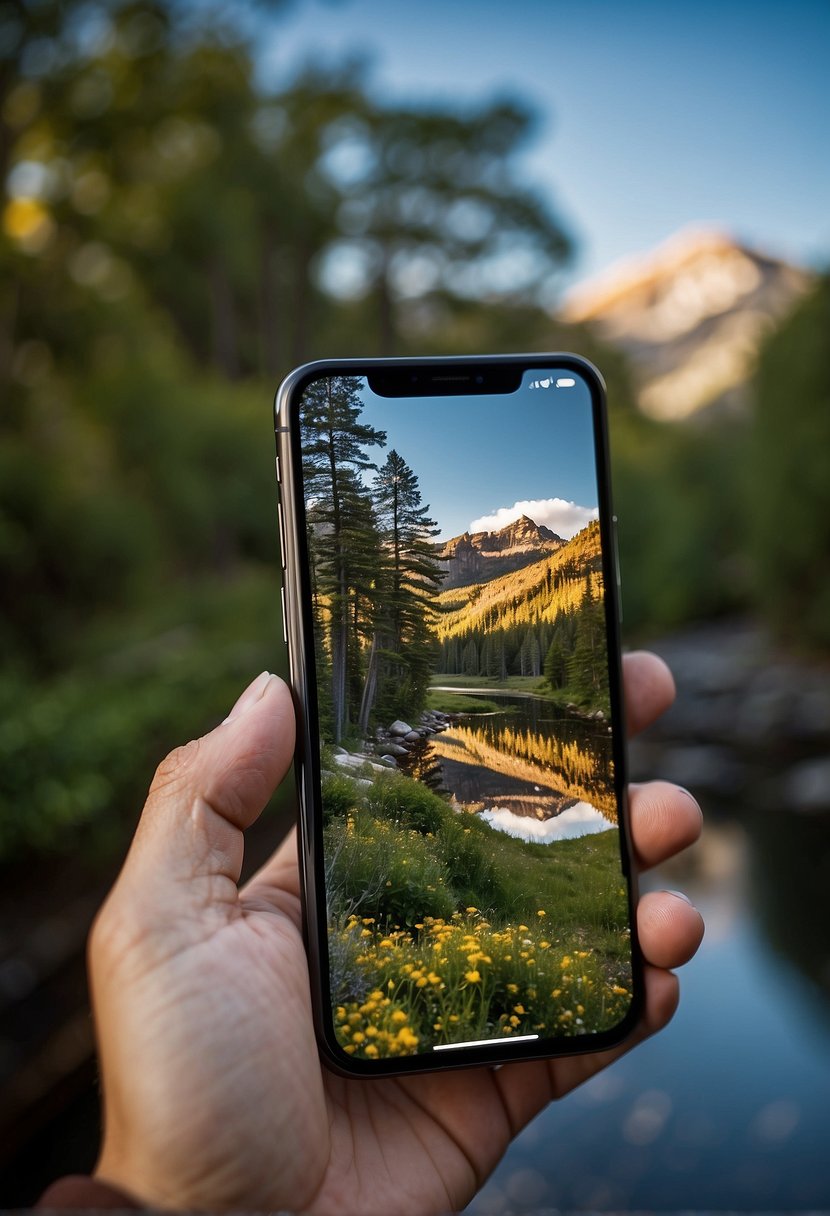
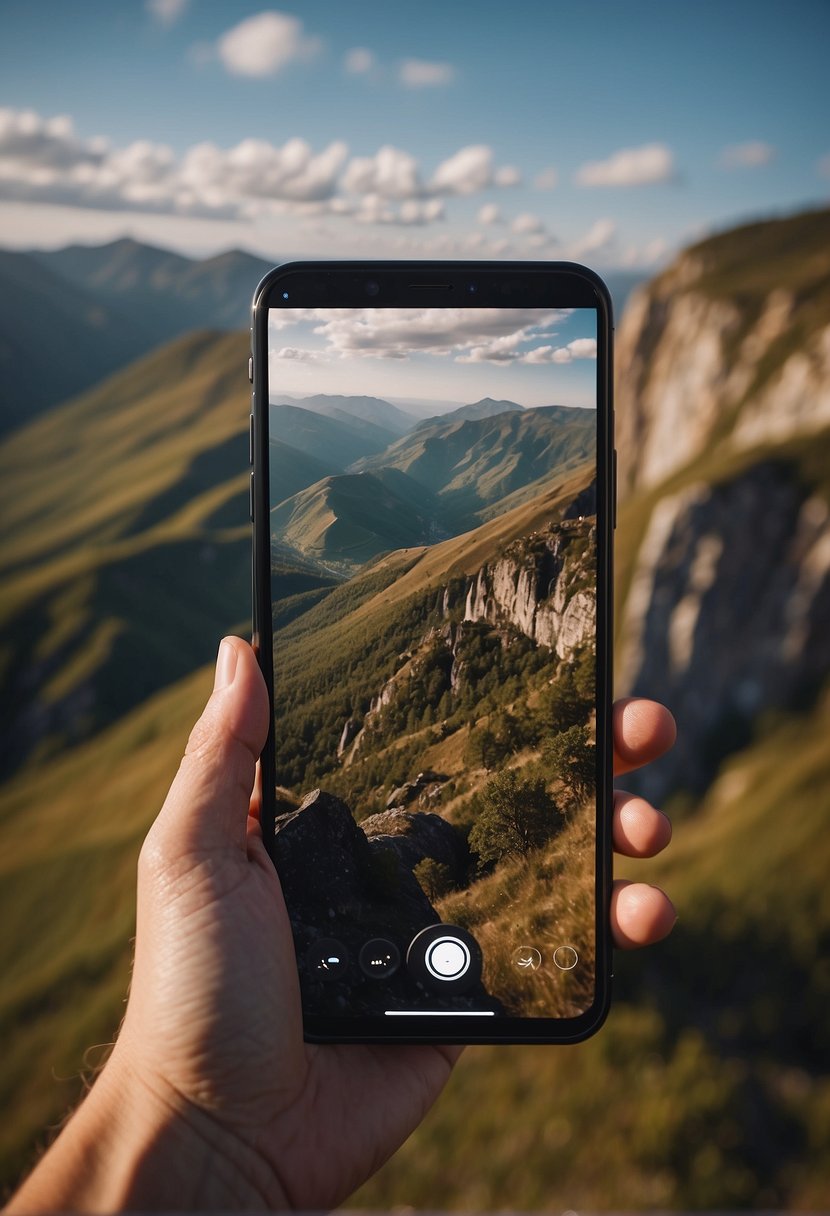
In 2024, mobile photography will continue to flourish as smartphone cameras evolve with groundbreaking features. Staying ahead in this dynamic field means mastering new techniques and making the most of the camera you carry every day in your pocket.
Navigating the world of mobile photography can be overwhelming, but with a few targeted tips, I’ve been able to enhance the quality of my pictures significantly.
It’s essential to familiarize oneself with composition and framing to create balance, invest time in mastering light to set the mood and explore the multitude of features your smartphone camera offers.
These pointers have not only upped my photography game but also introduced a fresh perspective on how I view the world through my lens. By embracing creativity and continual learning, mobile photography becomes a journey rather than a destination, revealing that the best camera is the one that’s with you.
Key Takeaways
- Understanding your smartphone’s capabilities is key to impressive mobile photography.
- Light mastery and composition are fundamental to creating beautiful images.
- Continuous learning and experimentation unlock creativity and enhance photo quality.
Understanding the Basics of Mobile Photography
In my journey through mobile photography, I’ve come to appreciate how vital it is to grasp the basic elements. The camera in your pocket has evolved remarkably, and understanding its capabilities is the first step to taking stunning photos.
Camera Types: Smartphone vs DSLR
When I compare smartphone cameras to DSLRs, the key difference I notice lies in sensor size and lens quality.
Smartphones have made incredible strides, packing advanced technology into tiny spaces. However, DSLRs still lead with larger sensors and the option to change lenses—crucial for professional depth and detail in photos.
For most of my daily photography, my smartphone is my go-to due to its convenience and increasingly high-quality output.
The Evolution of Smartphone Camera Technology
My smartphone serves as a perfect example of the rapid evolution of camera technology. Just a few years back, capturing a decent night shot was nearly impossible without a DSLR.
Now, my phone’s night mode allows me to take sharp, well-exposed photos in low light.
Advancements in image stabilization and AI software have also drastically improved photo quality, making my shots look like they were taken with more advanced camera gear.
Essential Photography Terms Explained
Understanding photography’s language helps bridge the gap between good and great mobile photos:
- Aperture: This is the opening in my phone’s lens that controls how much light hits the sensor. A lower f-number (like f/1.8) means more light and a blurrier background.
- ISO: This setting adjusts my camera’s sensitivity to light. Higher ISO can brighten my shot in dark environments but might introduce graininess.
- Shutter Speed: It denotes the length of time my camera’s shutter is open to expose light to the sensor. A slow shutter speed can create a blur effect for things like passing cars, while a fast speed freezes the action.
Composition and Framing
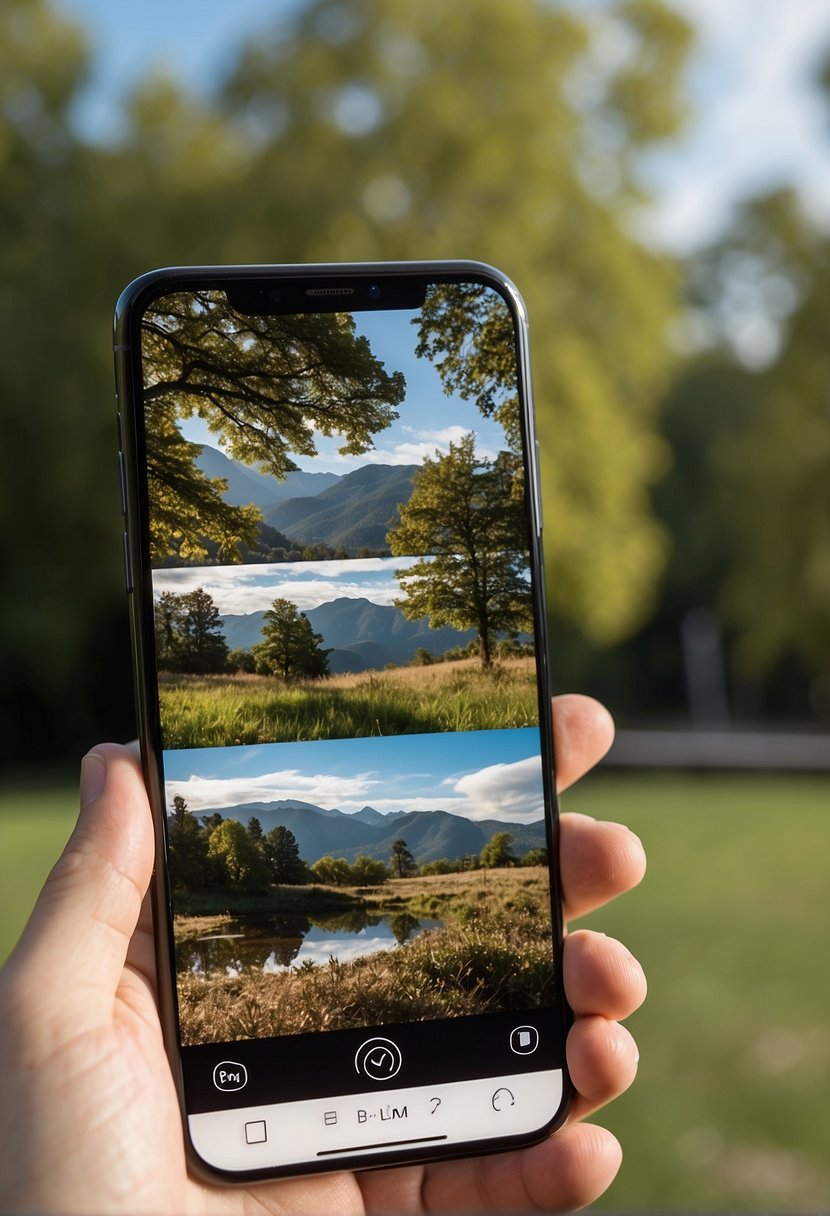
In mobile photography, the power of a great photo often lies in its composition and framing. I always pay close attention to how I arrange elements within the frame and decide what to include or leave out.
Rule of Thirds and Grid Use
Turning on the grid feature on my phone’s camera helps me apply the rule of thirds, a fundamental principle in photography.
By positioning the most important elements of the scene along the grid lines or at their intersections, I enhance the photo’s balance and allow viewers to interact with it more naturally.
Exploring Angles and Perspectives
I love experimenting with different angles and perspectives to find the most intriguing composition.
Whether I stoop low to capture the grandeur of a skyscraper or take a shot from above to focus on the unique patterns on a footpath, each angle offers a fresh take and can dramatically alter the mood and story of my photo.
The Art of Background and Negative Space
Understanding the relationship between the subject and the background plays a key role in composition.
I use negative space to isolate my subject and draw attention to it, creating a clean and compelling image.
This simple yet powerful technique can turn a busy scene into a minimalist masterpiece, emphasizing the beauty of simplicity.
Mastering Light and Exposure
In mobile photography, the manipulation of light and the understanding of exposure settings are non-negotiable skills. It’s all about finding the right balance between light sensitivity (ISO), the time your camera’s shutter stays open (shutter speed), and the environment’s lighting. Let’s break down these essentials.
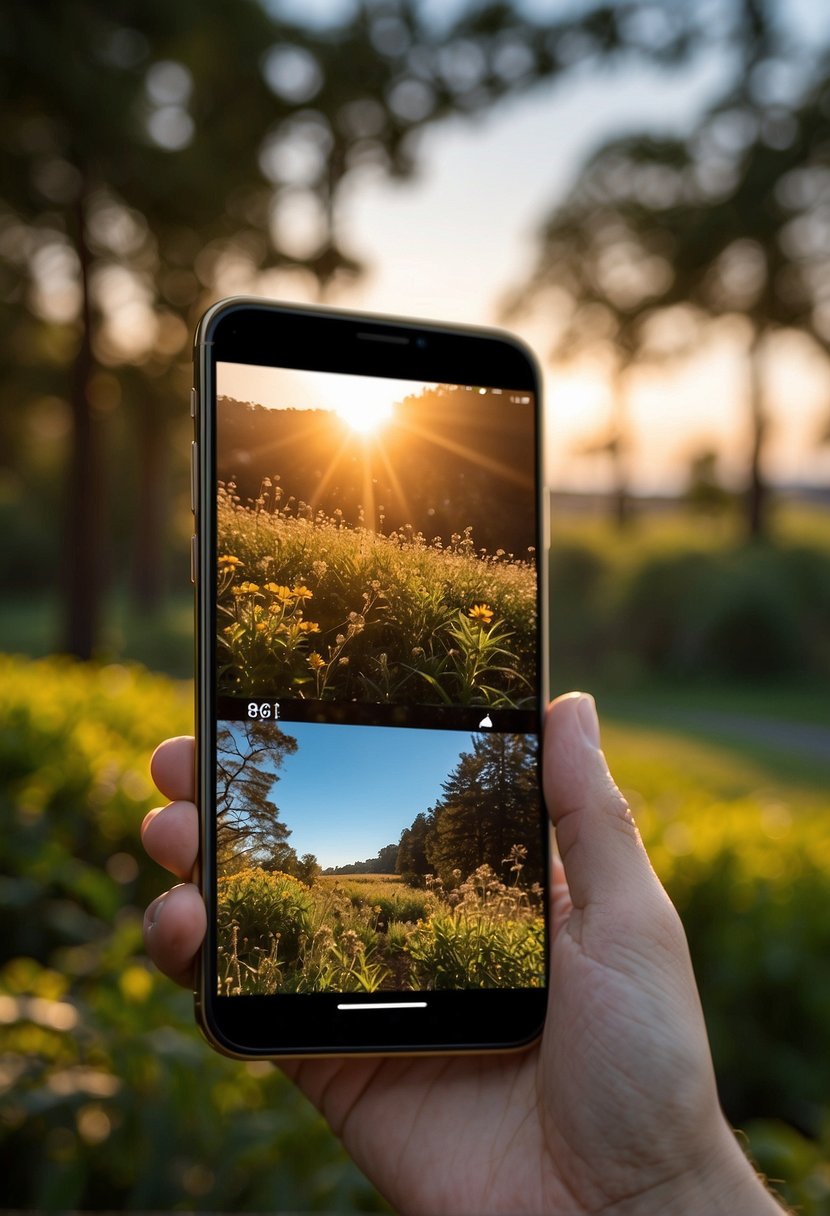
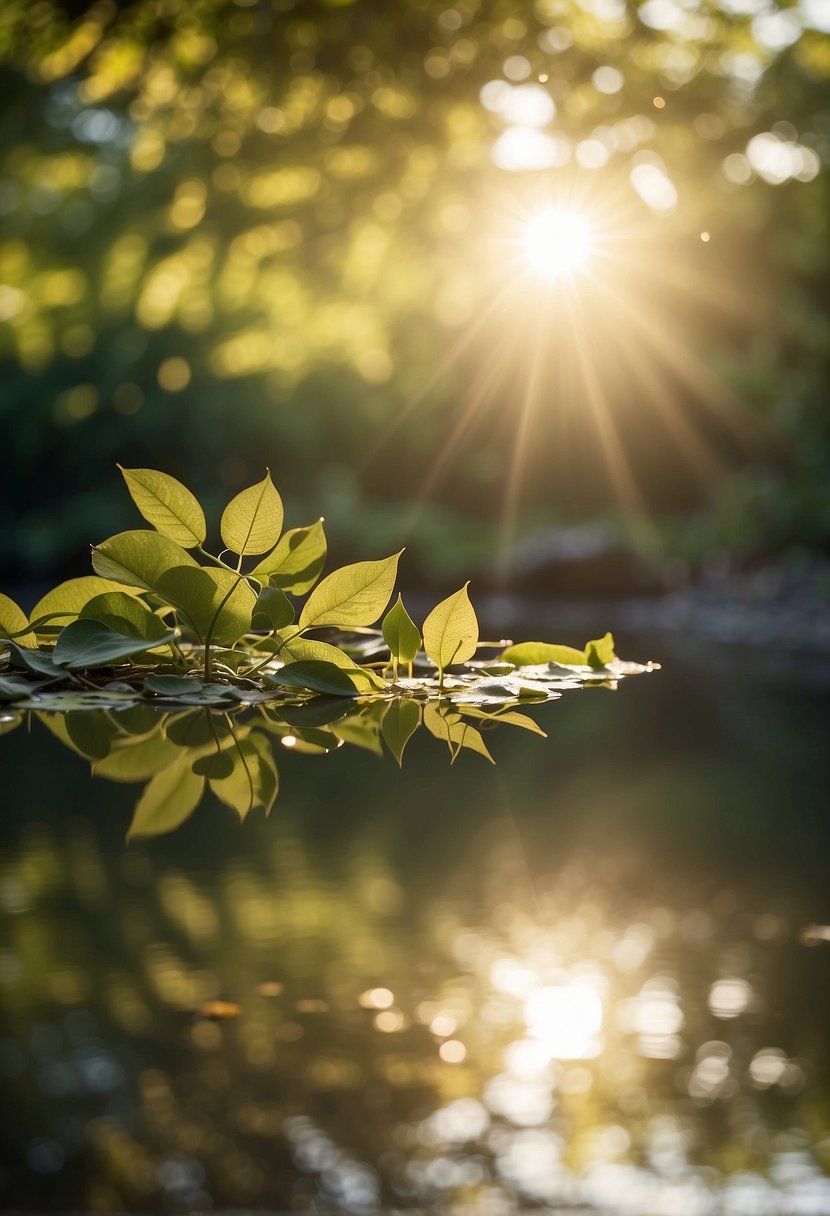
Harnessing Natural Light
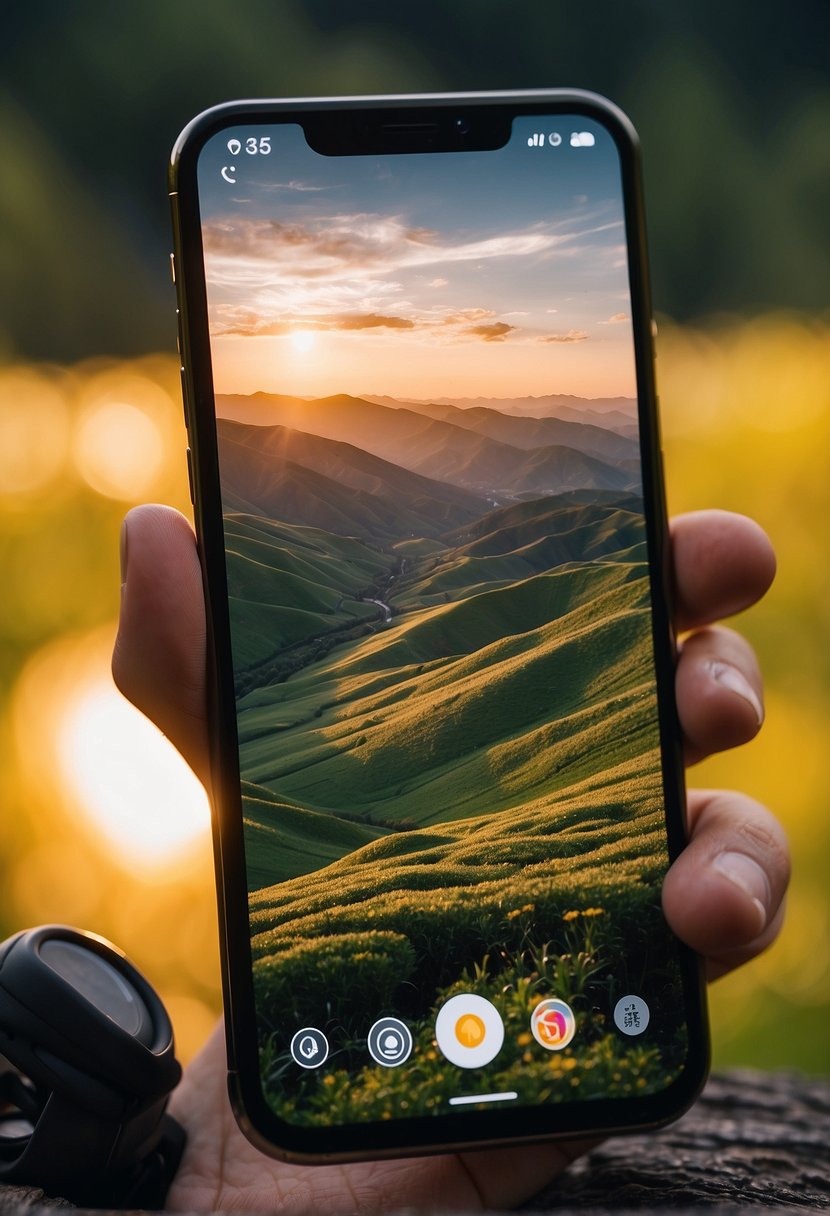
Natural light is a powerful ally. I always look for the golden hour, that time just after sunrise or before sunset, for a softer and warmer light that can add a magical quality to photos.
Even diffuse light on a cloudy day can provide a balanced, shadow-free exposure.
Understanding Exposure Settings
I take advantage of my camera app’s manual settings to dial in the right exposure.
Tapping on the main subject lets the camera set a focus point, but I don’t stop there. I adjust the exposure slider until the highlights and shadows in the preview look just right—crucial for telling a visually compelling story.
ISO and Shutter Speed Fundamentals
ISO controls how sensitive my camera is to light. Lower ISOs are great for bright settings to prevent overexposure, while higher ISOs are necessary in low light but can lead to grainier images.
Shutter speed determines how long my camera captures light; faster speeds can freeze motion while slower speeds can blur movement, like capturing light trails on a busy street at night.
I balance the two to achieve the perfect exposure for the mood I’m trying to convey.
Smartphone Camera Features
I want to share some powerful ways you can enhance your mobile photography by making the most of your smartphone camera’s capabilities. My focus will be on utilizing various modes and settings to bring your creative vision to life.
Maximizing Portrait and Panorama Modes
In my experience, portrait and night mode are where smartphone cameras truly shine.
To get the most out of portrait mode, I make sure to adjust the depth of field effect to highlight the subject, creating that professional-looking blurred background. Remember, good lighting is your best friend here.
On the other hand, panorama mode requires a steady hand; I always move the phone in a consistent, smooth motion and follow the on-screen guide to stitch a seamless panoramic shot. Using accessories like a gimbal can be a game-changer for stability.
Using Burst and Night Modes Effectively
To never miss a moment, I rely on burst mode.
Quick consecutive shots are perfect for action or fleeting moments, and selecting the best image from a set is easier than trying to get that one perfect shot.
For low-light situations, night mode has been transformative. I hold my phone steady or place it on a stable surface to let more light in without blur.
Some advanced smartphones even let me adjust the exposure time in night mode for more control over the final image.
Advantages of Different Camera Modes
Finally, understanding and using different camera modes can elevate my mobile photography significantly.
Each mode is tailored for specific situations—like sports, macro, or landscape. By selecting the appropriate mode, my phone auto-adjusts settings to capture the best shot for those conditions. This takes the guesswork out of manual adjustments, allowing me to focus on composition and timing.
Techniques for Sharper Photos
Achieving clear and crisp images with your smartphone is all about stability and control. I’ll share a few handy techniques that have helped me capture sharper images, eliminating unwanted blur that often occurs due to camera shake. Let’s dive into how to stabilize your shots, utilize manual controls, and reduce camera movement.
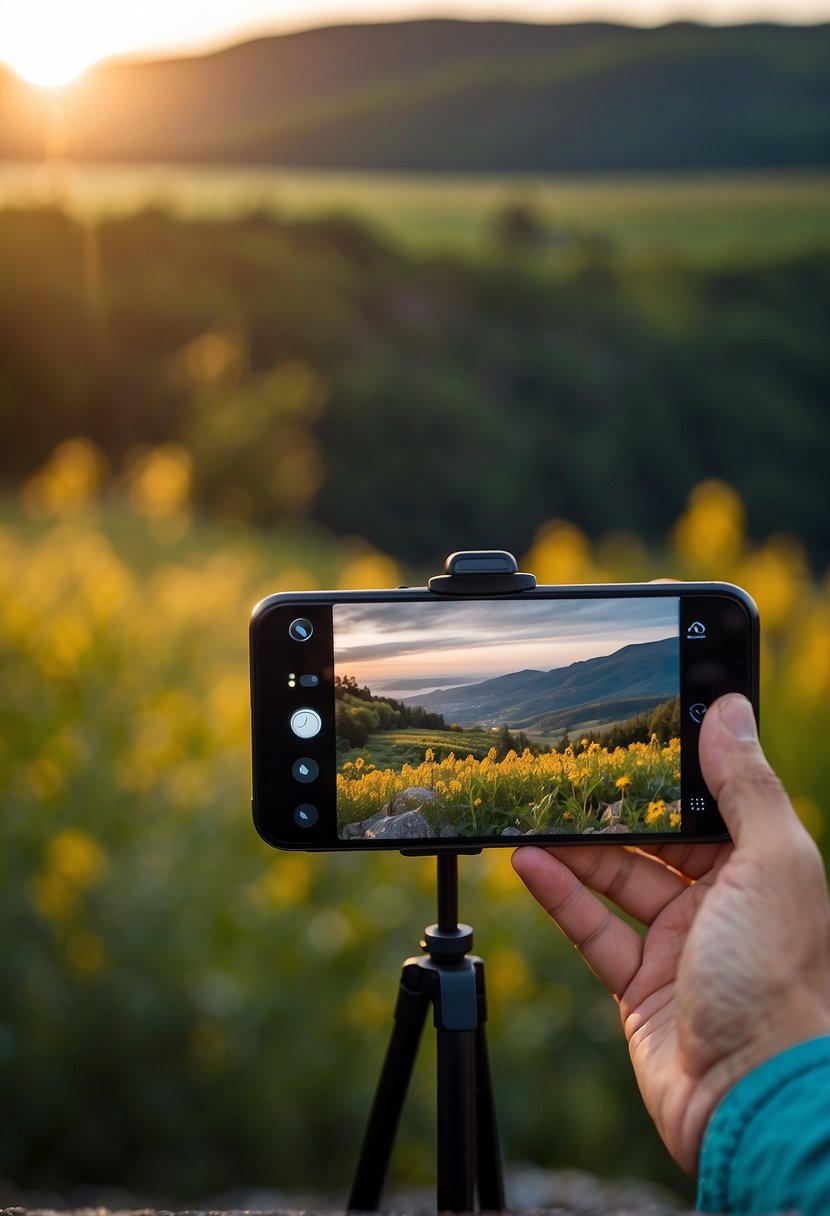
Stabilizing with Tripods
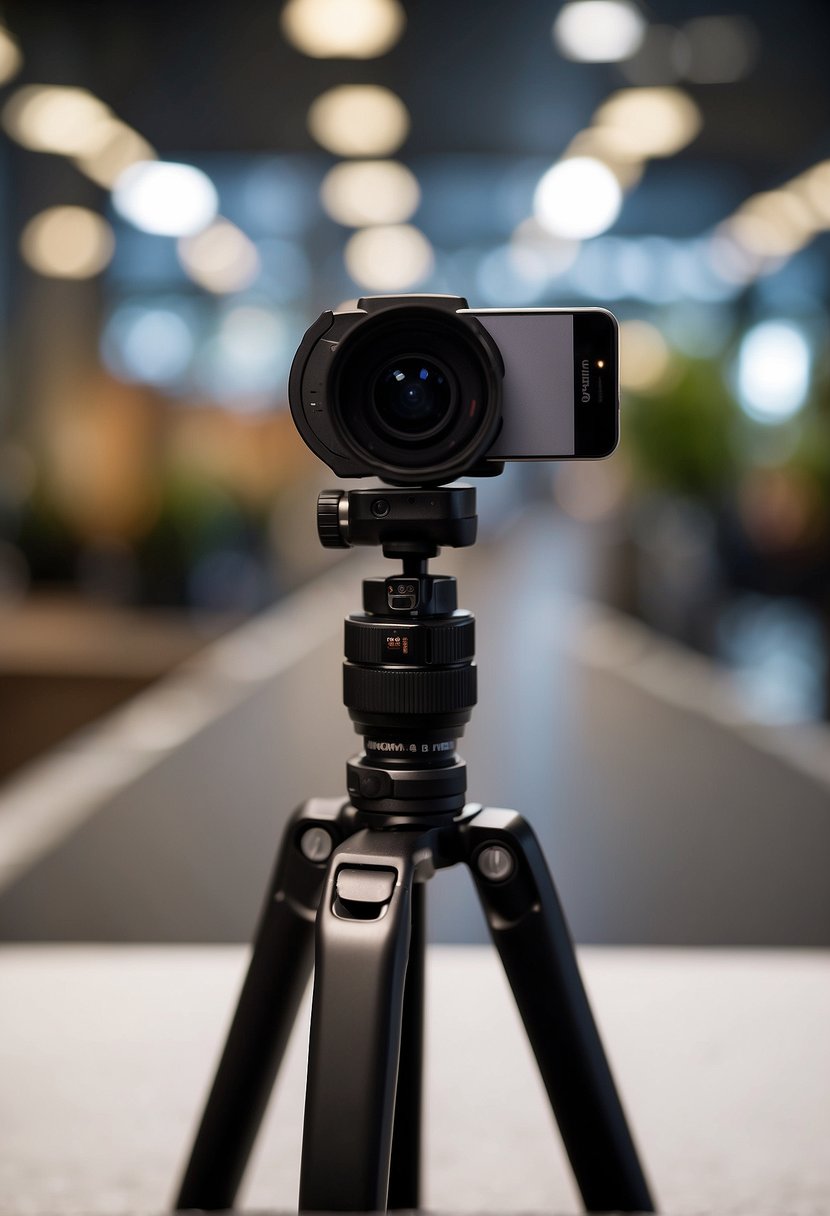
I’ve found that the simplest way to avoid blurry photos is by using a tripod.
My smartphone tripod has been a game-changer, especially in low-light conditions where longer exposures are necessary. With a tripod, you get the benefit of a steady shot without having to hold your phone for extended periods.
Manual Controls and Focus Techniques
Utilizing your phone’s manual controls can significantly improve the sharpness of your photos.
I take control of the focus and exposure settings to ensure my subject is crystal clear.
Manual focus techniques allow me to concentrate on the most crucial part of my scene, and adjusting exposure helps to avoid under or overexposing the shot.
Reducing Camera Shake for Steady Shots
To minimize camera shake, I always use both hands to hold my phone and tuck my elbows into my body for extra stability.
For even steadier shots, activating the volume button as the shutter release can be incredibly effective. This method helps me maintain my phone in a stable position while capturing the image, significantly reducing the risk of a shaky photo.
The Wonders of Lens Technology
In 2024, smartphone photography has been revolutionized with the advent of advanced lens technology. My passion for capturing stunning images is now more accessible than ever, thanks to the variety of lenses available for mobile phones.
Getting Close with Macro and Telephoto Lenses
With a macro lens, I can reveal the minute details of my subjects, showing life’s small beauties like the texture of a leaf or the wings of a bee.
The magnification of these lenses brings the tiniest of details into crisp focus, right on my smartphone.
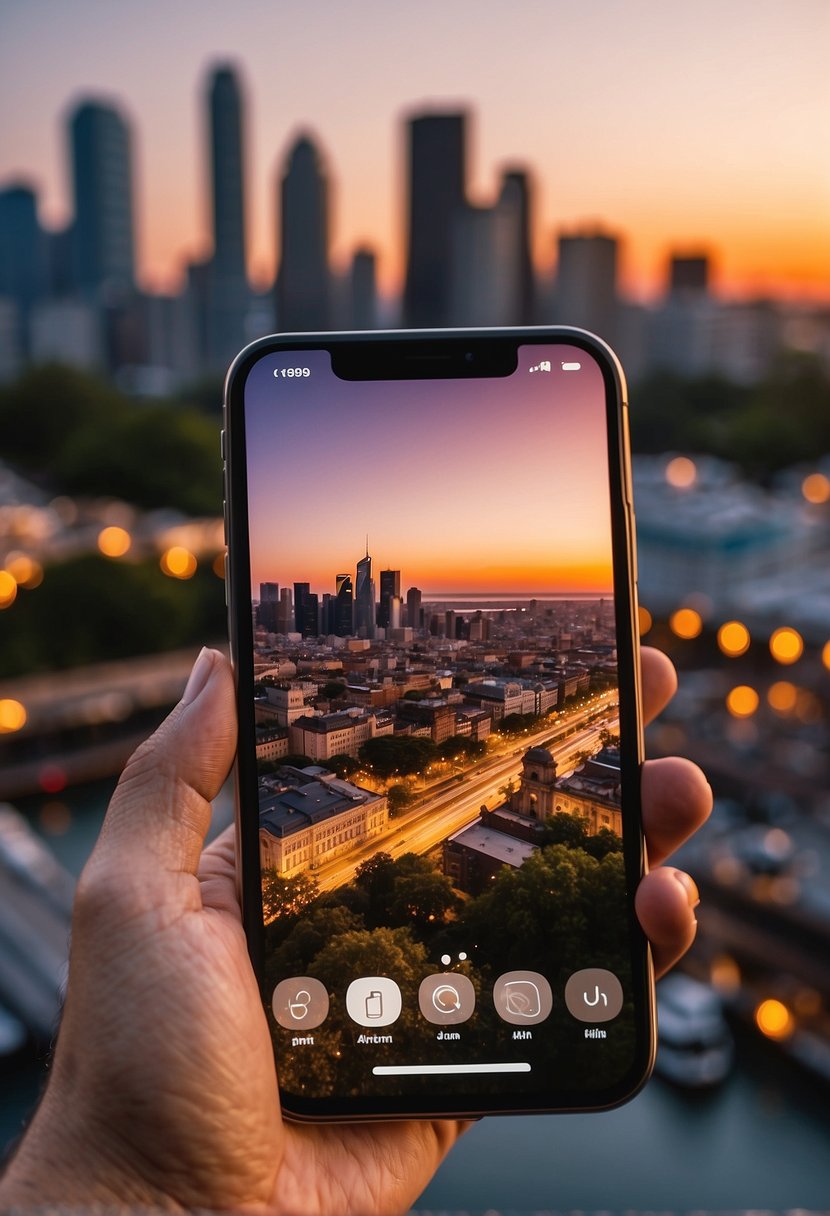
Switching to a telephoto lens allows me to zoom in on distant objects without losing image quality.
It’s a game-changer for shooting things that are far away, like the expression on the face of a performer at a concert or the details of a skyscraper from the ground.
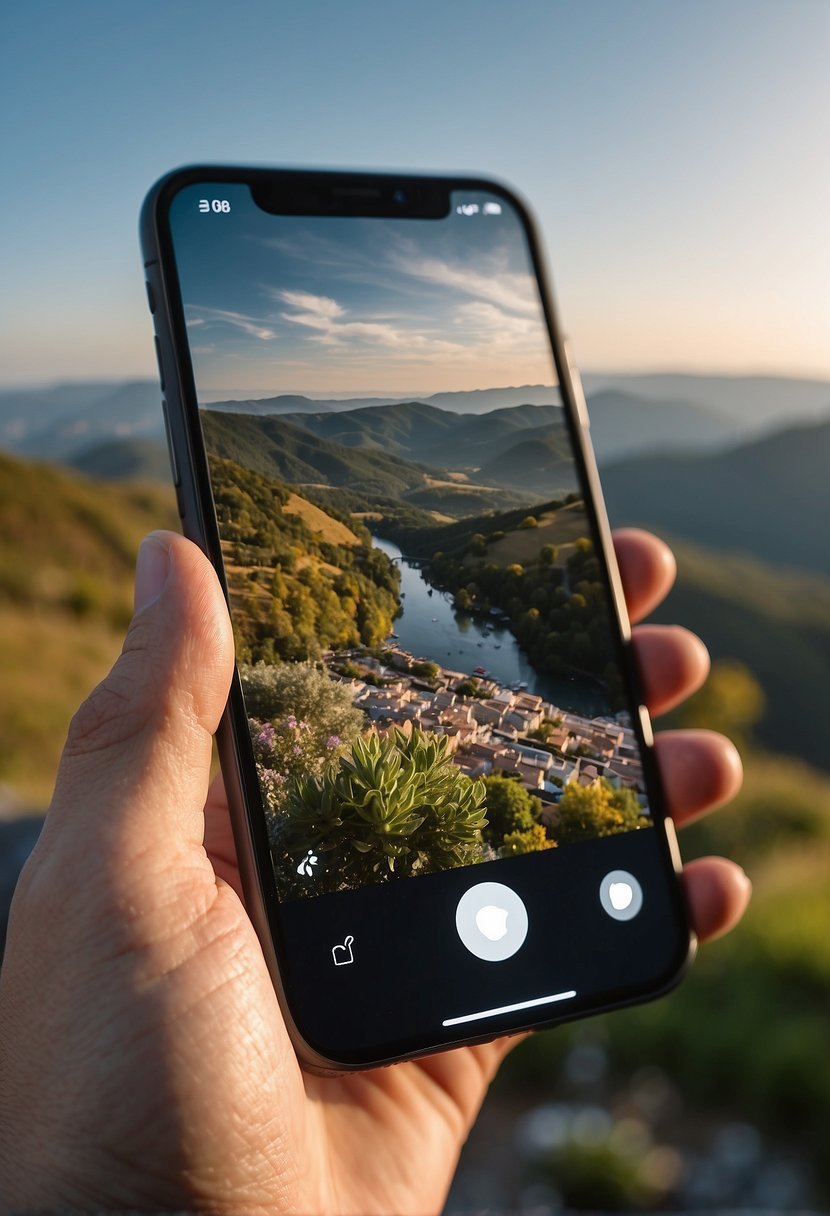
Creative Shots with Wide-Angle and Fisheye
Wide-angle lenses open up a new world of possibilities. They allow me to capture more of the scene in a single shot. This lens is perfect for breathtaking landscapes or group shots where everyone has to fit in the frame.
For a fun and quirky twist, fisheye lenses offer a unique spherical effect. It can give my photos a striking, stylized look. It’s like stepping into a different, playful world through my phone’s camera.
With these innovative lenses, such as clip-on lenses, I can transform my mobile photography from simple snapshots to professional-looking images. It’s not just about capturing a moment; it’s about telling a story with clarity and creativity.
Creative Approaches to Mobile Photography
In mobile photography, being creative involves finding compelling subjects. It also involves using the features of your phone to capture images in new and interesting ways. I’ll guide you through specific techniques for landscape and portrait photography, action shots, and the dramatic effect of black-and-white imagery.
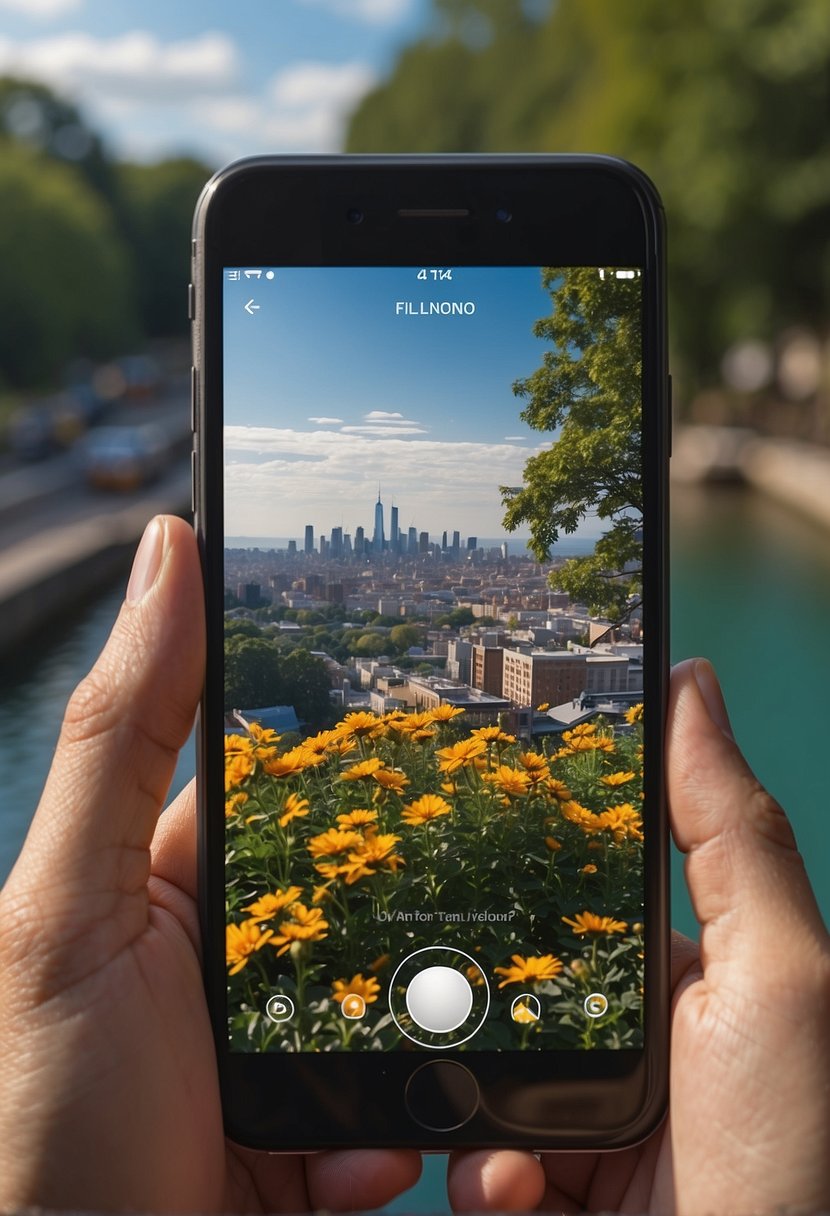
Landscape and Portrait Photography
When I take landscape photos, I focus on composition and the rule of thirds to create depth and interest. I often look for leading lines that draw the viewer into the photo.
For portraits, I explore the depth of field available on my smartphone.
By positioning my subject a good distance from the background and using portrait mode, I can achieve a soft, blurred backdrop that makes my subject stand out. The creative smartphone mobile photography tips I found include using natural light to create beautiful silhouettes and shadows that add depth to landscapes and portraits.
Capturing Action Shots and Movement
Action shots can be tricky, but not impossible, with a mobile phone. I set my phone to burst mode to capture movement without blur. I also pay attention to shutter speed. Faster speeds freeze action, whereas slower speeds can create an intentional blur to convey motion in my shots.
Capturing action and movement involves anticipating where the subject will move next so I’m ready to snap the photo at just the right moment.
The Power of Black and White
I find that black and white photography can convey a sense of timelessness and emotion that color sometimes cannot.
When I take photos in black and white, I look for contrasts, textures, and patterns that can be more noticeable without the distraction of color.
Black and white can be particularly powerful in creative phone photography, making even simple compositions feel profound. I adjust the brightness and contrast in editing to enhance the dramatic effect.
Boosting Image Quality and Resolution
When it comes to mobile photography, understanding how to enhance image quality and resolution is key. I’ll guide you through the details of zoom and how it impacts your photos, plus share insights on resolution and aspect ratios that can take your images to the next level.
Digital Zoom vs Optical Zoom
Using digital zoom essentially means enlarging the image using software. While it can help frame your shot without moving, it often results in a loss of quality because it’s like enlarging a section of your photo past its natural resolution. On the other hand, optical zoom uses the camera’s physical lens to get closer to the subject without compromising on image quality, much like binoculars work.
Understanding Resolution and Aspect Ratios
Resolution refers to the number of pixels that make up your photo, with more pixels translating to more detail. It’s a key factor in image quality. Aspect ratio, the proportional relationship between the width and height of your image, also affects composition and resolution. Standard aspect ratios include 4:3 or 16:9, and choosing the right one depends on how you intend to display or print your photos.
The Digital Darkroom: Editing on Your Phone
When I edit photos on my phone, it feels like I have a portable studio right at my fingertips. It’s all about using the right apps to bring my visions to life. Here’s how I make the most of mobile editing.
Popular Editing Apps and Their Features
I’m always on the lookout for apps that are powerful yet user-friendly. Snapseed is one of my go-to’s—it’s a comprehensive tool with selective adjustments and a healing tool for fixing blemishes.
Another favorite is TouchRetouch because it’s excellent for removing unwanted elements from photos with precision. For quick edits, preset filters can dramatically change the look and feel of an image. Here’s a quick list of apps I frequently use:
- Snapseed: Selective adjustments, healing tool, various filters
- TouchRetouch: Object removal, quick repair features
- VSCO: Trendy presets, film emulation
- Adobe Photoshop Express: Advanced tools like layers, Photoshop effects
- Lightroom Mobile: Detailed editing, color correction, cloud storage syncing
Tips for Post-Processing and Filters
Post-processing with filters can be a delicate art, so I always try to enhance, not overpower, my shots. Here are a couple of pointers:
- Adjust Gently: Start with subtle changes to exposure and contrast. Overdoing it can lead to unnatural images.
- Use Filters Sparingly: Filters should complement your photo. Think of them as the salt in cooking—just enough to enhance.
Managing and Backing Up Your Camera Roll
Keeping my photos safe and organized is a top priority. I usually back up to cloud storage services like Google Photos or iCloud to ensure I never lose a precious moment. Here’s what I pay attention to:
- Organizing Regularly: I create albums by event or subject to make finding photos easier.
- Consistent Backups: I set my phone to back up to the cloud overnight, so I don’t have to worry about it during the day.
Advanced Mobile Photography Techniques
In 2024, mobile photography is more sophisticated than ever. This is thanks to advanced features like computational photography, long-exposure capabilities, and customizable camera settings that can be accessed with a simple tap or press. I’ll discuss how these features can help capture stunning images that rival those taken on professional cameras.
Computational Photography Explained
Computational photography is my secret weapon for achieving remarkable images with just a smartphone. By combining multiple exposures, this clever technique improves dynamic range, enhances details in shadows and highlights, and reduces noise.
It’s amazing how smart algorithms can enhance a photo taken in less-than-ideal lighting conditions, giving it a professional polish.
Exploring Long-Exposure Photography
With long-exposure photography, I can create artistic and dreamy shots of moving subjects.
This technique captures the essence of motion, resulting in images where waterfalls look silky, and car lights turn into rivers of color. All I need to do is set my phone on a stable surface or a tripod, select the right mode, and let the sensor do the work over a couple of seconds—or even minutes.
Using Volume Button and HDR Settings
To avoid camera shake and ensure my photos are sharp, I use the volume button to take the picture. This is a small tweak but works wonders.
Additionally, HDR settings come in handy when I am dealing with high-contrast scenes. It helps to balance the bright and dark areas, ensuring that my photos are evenly exposed with rich colors and details.
Smartphone Photography in Social Media
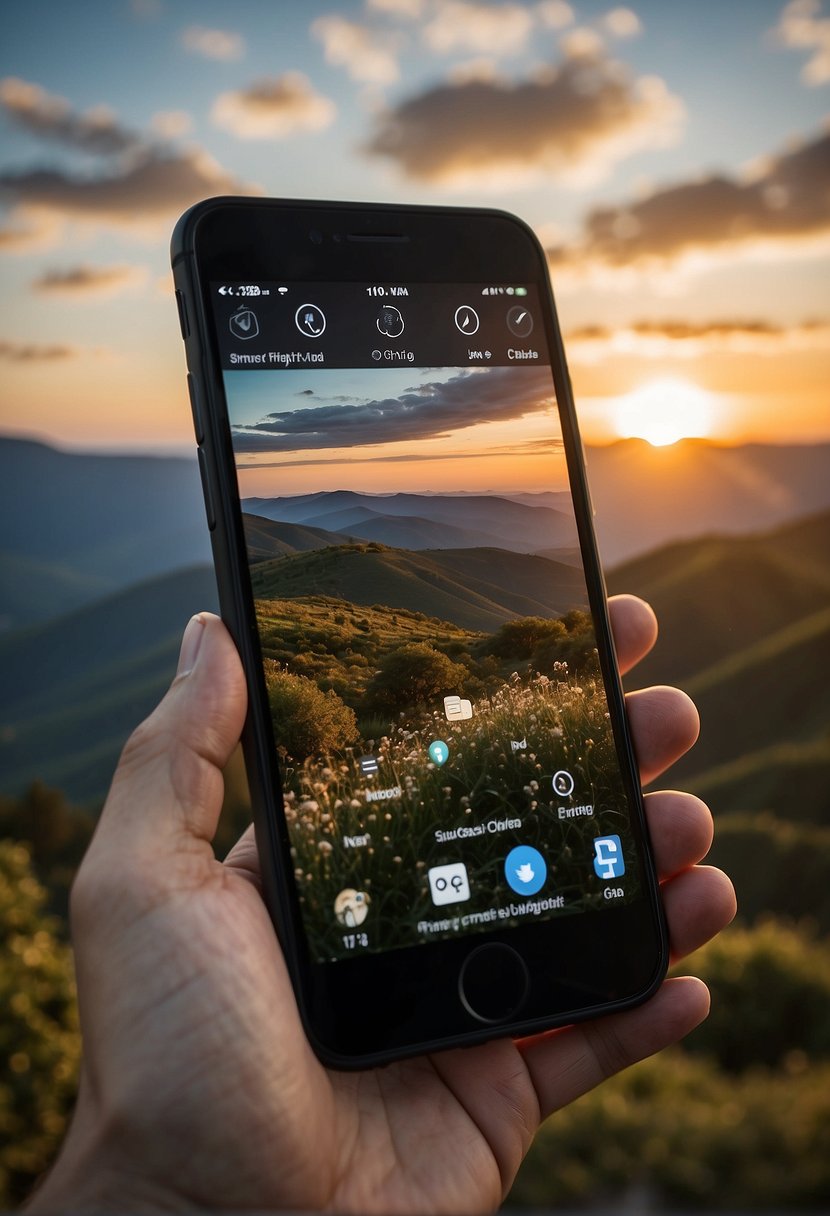
In 2024, my mobile photography game has to be strong, especially for social sharing. With platforms like Instagram and Facebook continuously updating their algorithms, I need to optimize my images and stay ahead of the trends to engage my audience effectively.
Optimizing Images for Instagram and Facebook
For these platforms, my rule of thumb is to always prioritize quality and formatting. I ensure my photos have a resolution of at least 1080 pixels wide because Instagram compresses images, and the higher the original quality, the better it looks after compression.
For Facebook, keeping the aspect ratio between 1.91:1 to 4:5 ensures my photos display properly without unexpected cropping.
Instagram Tips:
- Resolution: Upload images with a minimum width of 1080 pixels.
- Aspect Ratio: Stick to a 4:5 ratio for portrait images to use the maximum space without getting cut off.
Facebook Tips:
- Aspect Ratio: 1.91:1 is ideal for landscape photos, ensuring full display in the feed.
- File Size: Aim to keep the file size below 100KB for speedier uploads without sacrificing too much detail.
Trends in Mobile Photography for Social Sharing
Trends evolve quickly, and in 2024, vibrant colors and authentic behind-the-scenes shots are capturing attention. I edit my photos to enhance their colors subtly using filters but avoid overdoing it.
Authenticity is key, so I often share the context in my captions, letting my followers in on the story behind the photo. Selfies have become more thoughtful too, with users favoring candid moments over the traditional posed shots.
- Color Vibrancy: Subtly boost saturation to catch the eye but stay true to natural tones.
- Authentic Captions: Pair my images with stories that resonate and invite interaction.
- Stick to candid selfies rather than heavily posed shots for a more genuine connection with my followers.
Optimizing Your Phone for Photography
Before diving into smartphone photography, it’s crucial to ensure you have the right tools and software to capture stunning images. I’ll guide you through selecting the optimal smartphone and accessories as well as keeping your camera software up to date.
Choosing the Right Smartphone and Accessories
When on the hunt for a smartphone that will elevate my photography, I look for models with advanced camera specs.
For iPhone photography enthusiasts, models like the iPhone 12 or newer are my go-to because of their sophisticated iPhone camera systems.
If I’m leaning towards an Android device, I consider options such as the Google Pixel 5 or Samsung Galaxy S21, renowned for their camera capabilities among professional photographers.
After selecting the device, I focus on enhancing the experience with smartphone photography accessories. A good start includes:
- Lens Attachments: To boost my camera’s versatility
- Tripod: For stabilization in various shooting environments
- External Flash/LED Lights: To enhance lighting conditions
These additions can significantly improve the quality of my photos and offer flexibility in different shooting scenarios.
Maintaining and Upgrading Camera Software
Keeping the camera software up-to-date is just as important as the hardware. I frequently check for updates on my iPhone or Android because software enhancements can improve camera functionality and introduce new photography features.
For instance, software updates often come with improved image processing or new camera modes that can take my photos from good to great.
Furthermore, I explore third-party camera apps that can offer more control over shooting settings.
The iPhone Photo Academy recommends apps that offer manual focus, exposure controls, and RAW shooting formats, giving me even more creative freedom.
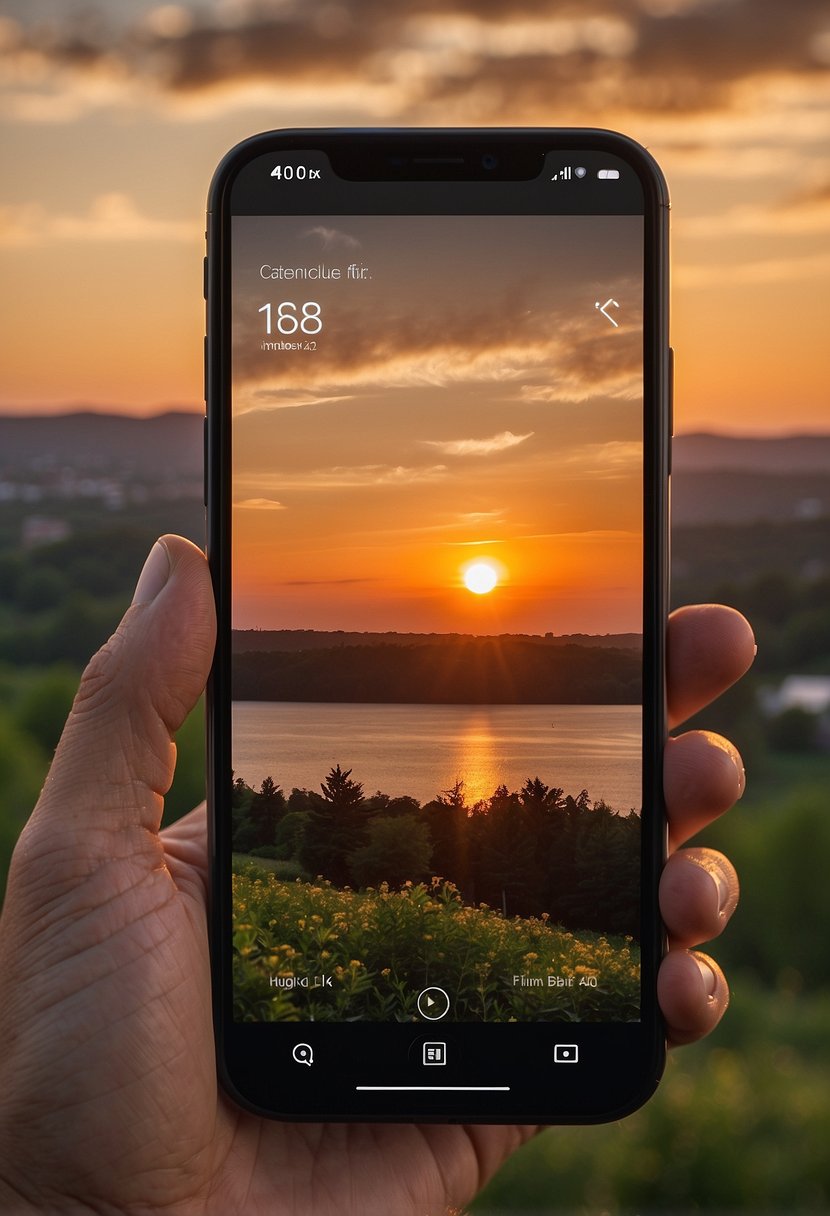
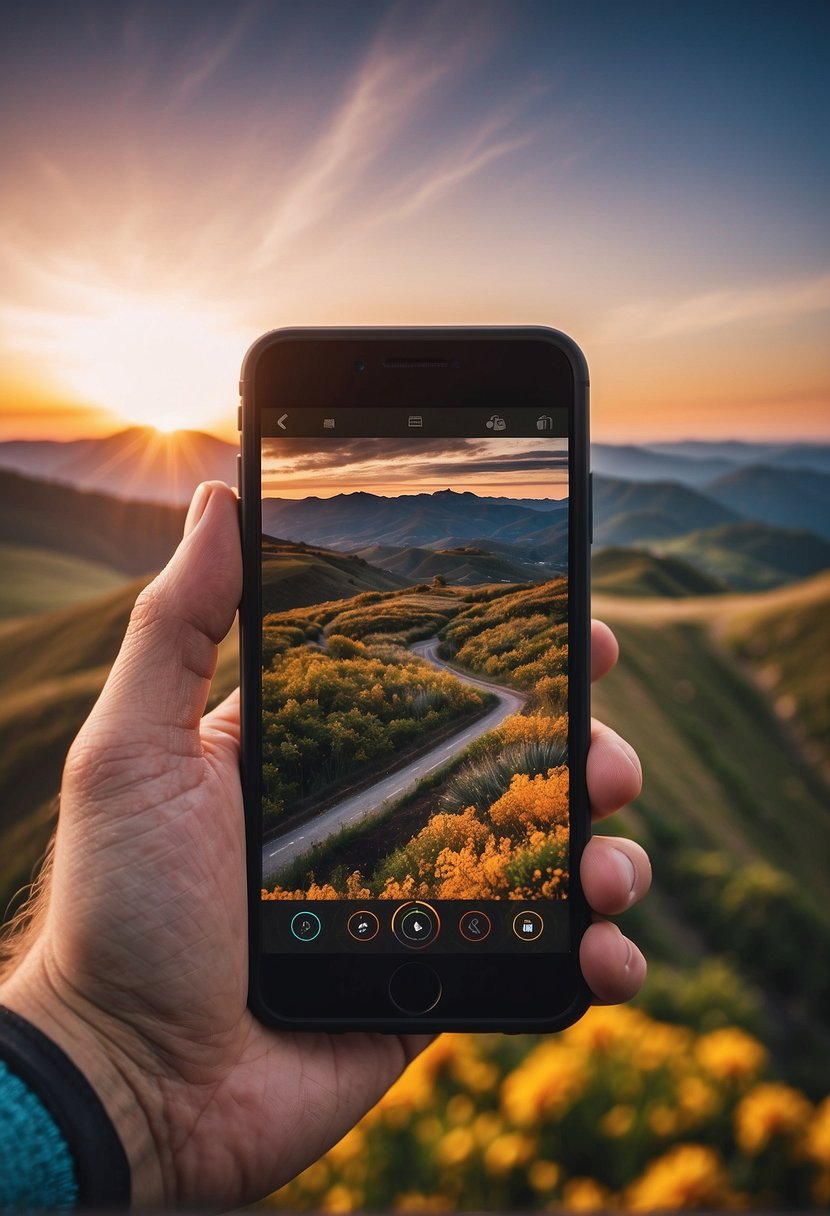
Patterns of Light: Exploring the Golden Hour
In mobile photography, I’ve found that one of the most flattering natural light conditions is during the golden hour. This period, which occurs just after sunrise or before sunset, bathes the world in a warm, soft light that’s perfect for photography.
Here’s how I make the most of it:
- Plan Ahead: I use smartphone apps to predict when the golden hour will occur. This way, I’m ready to capture that perfect light.
- Stabilize: A tripod is my best friend during golden hour photography. It keeps my phone steady for clear shots.
- Exposure: I adjust my camera’s exposure manually to ensure the light levels are just right, maintaining detail in both shadows and highlights.
- Front or Back?: Depending on the effect I want, I’ll have the sun behind my subject for a dreamy backlight, or in front for rich, saturated colors.
Here’s a quick tip list:
- Check the Weather: A clear day brings out the best golden hour hues.
- Composition Matters: I look for ways natural light interacts with the environment, like long shadows or a glowing skyline.
- Reflections: Surfaces like water or glass can reflect golden hour light, creating more depth in my photos.
Understanding Cost vs Quality in Mobile Photography
When I explore mobile photography, I often grapple with the balance between cost and quality. It’s tempting to think that spending more will guarantee better photos, but that’s not always the case.
Budget phones have made significant strides, boasting capable cameras that punch above their weight. My experience tells me that good technique can sometimes outweigh hardware limitations. With effective use of light and composition, even a modest sensor can yield stunning results.
On the flip side, higher-end smartphones often feature advanced camera systems with multiple lenses and sensors. They excel in diverse situations, from low light to fast action, offering me the flexibility to capture images with higher fidelity and detail. But these features come at a premium, and the question I ask myself is: “Is the cost worth the upgrade for my photography needs?”
Key Considerations:
- Cost: Higher prices don’t always mean better photos. Assess if the premium features align with the kind of photography I pursue.
- Quality: Higher quality images are often due to better sensors, lenses, and software in more expensive phones.
- Software: Sometimes, software enhancements and computational photography can bridge the gap between budget and flagship models.
Leveraging Accessories for Enhanced Photos
With the constant advancement of smartphone camera technology, I’ve found that the right accessories can significantly uplift my mobile photography game. Here’s how I use tripods and clip-on lenses to capture stunning shots.
The Role of Smartphone Tripods
I consider a smartphone tripod to be a must-have for any mobile photography enthusiast. A tripod stabilizes my phone, which is essential for low-light conditions, long exposures, or creating time-lapse videos.
Some tripods come with flexible legs allowing me to attach my phone to a variety of surfaces or position it at unique angles. I always ensure the tripod I choose is lightweight yet durable and has a secure phone mount to protect my device.
Choosing and Using Clip-On Lenses
When it comes to enhancing the capabilities of my smartphone’s camera, I can’t praise clip-on lenses enough. They are compact, easy to use, and can dramatically change the perspective of my photos.
For instance, a wide-angle lens allows me to capture more of the scene, perfect for landscapes or group shots, while a macro lens lets me get incredibly close to my subjects for detailed close-ups.
I always look for lenses with high-quality glass to avoid any unwanted distortion or vignetting in my photos. It’s important to align them correctly with the camera mode I am using, whether it’s the standard, wide-angle, or telephoto setting on my phone. By doing so, I can ensure that I get the best image quality possible from my smartphone photography setup.
Finding Inspiration and Developing Style
In my journey through mobile photography, I’ve found that inspiration and style are foundational to creating compelling images. Let’s explore how to find that creative spark and cultivate a personal aesthetic.
Following Professional Photographers for Inspiration
I frequently browse the portfolios of professional photographers to stimulate my creativity. Websites like Photography Inspiration in 2024 offer various ideas and showcase how professionals compose their shots, use light, and tell stories.
I take note of the techniques that resonate with me; this includes understanding how they might approach a subject or scene. Don’t be afraid to experiment with styles that catch your eye.
Cultivating Your Unique Photography Style
Developing my style involved a mix of self-reflection and technical experimentation. I asked myself what themes I was drawn to, and what moods I wanted to convey.
Was it the raw emotion in portraits or the vast tranquility in landscapes? Once I knew this, I honed my skills by following courses from platforms like iPhone Photo Academy, which provided structured guidance tailored to mobile photography.
Remember to keep practicing; your unique photography style will emerge as you blend inspiration with your perspective.
Engaging with the Photography Community
In the world of mobile photography, learning from others can be as crucial as mastering your camera. I’ve found great joy and improvement in my photography skills by engaging with the photography community. Here are some ways I connect with fellow photographers:
Join Social Media Groups: I often join dedicated photography groups on platforms like Instagram or 500px. It’s not just about posting my work; I make sure to participate in discussions and provide feedback, which helps me fetch valuable insights too.
Participate in Online Forums: Forums can be goldmines for photography tips. I enjoy the camaraderie and the wide array of topics that get covered, from technical advice to post-processing techniques.
Attend Workshops or Webinars: Even online workshops can offer a wealth of knowledge. Usually, they’re conducted by professionals whom I might not have the chance to meet otherwise.
Photo Walks and Meet-ups: If possible, I attend local photo walks or meet-ups. They allow me to see how others work and think on their feet, plus they’re fun!
Share Constructively: I make it a habit to share my knowledge too. It’s a two-way street; by helping others, I often find new ways to tackle my challenges.
Tips for Selling Mobile Photography
When I’m looking to sell my mobile photography, I adopt a strategy that plays to the strengths of what I can capture with my phone’s camera. Here’s how you can turn your mobile photos into profit:
- Understand the Market: I research what types of mobile photos are in demand. For example, stock image sites often specify what content they need.
- Quality Over Quantity: I focus on producing high-quality images. Sharp, well-composed shots sell better.
- Tell a Story: Each photo I take aims to convey a narrative, making it more appealing to potential buyers.
- Edit with Care: I use photo editing apps sparingly to enhance my photos without overdoing it.
| Do’s | Don’ts |
|---|---|
| Do keep your lens clean for clarity. | Don’t overuse digital zoom. |
| Do use natural light to your advantage. | Don’t ignore the background. |
| Do learn your phone’s settings. | Don’t shake—keep your camera steady. |
Staying Updated with Mobile Photography Trends
In 2024, mobile photography will continue to evolve swiftly. I find it essential to stay abreast of the latest trends to ensure my photos stand out.
First and foremost, I keep a close eye on advancements in smartphone cameras.
This year, they’re boasting improved sensors and AI capabilities, so it’s critical for me to understand these features to fully leverage their potential.
Upgrades often include enhancements to low-light performance and auto-focus speeds. This makes it easier for me to capture high-quality images even in challenging conditions.
I’ve also noticed a surge in selfies that mimic professional portraitures, thanks to smartphones adopting sophisticated depth-sensing technologies. By staying informed, I utilize these advancements to produce selfies that are more dynamic and engaging.
To adapt to these changes, I frequently experiment with manual controls. Mastering aspects like ISO, shutter speed, and exposure compensation gives me considerable control over the final image.
I often refer to tips in Digital Photography Review to brush up on the fundamentals.
Moreover, I engage with mobile photography communities on social platforms. There, I can showcase my work and get feedback. It’s invaluable to see what techniques others are using, which can inspire my own.
Finally, I make a point to try out different photography apps. Whether it’s for editing or camera control, new apps sometimes include features that align with the latest trends.
My advice is to keep an open mind and not shy away from experimenting. Check out what’s new on Stylomatic to keep your photography game sharp.